AKS Setup
In order to properly simulate a realistic replication scenario to Confluent Cloud, the example requires a AKS Node Pool sufficiently large to support a 3 node clusters for both Kafka and ZooKeeper. In testing of this demonstration, a sufficient cluster consisted of 7 nodes of machine type Standard_D4s_v4.
Tip
The Variable Reference section can be used to control the size of the deployed resources in this example.
If you wish to use an existing AKS cluster, and your kubectl client is already configured to operate with it, skip to the Confluent Cloud Setup section of these instructions.
If you wish to create a new AKS cluster for this example, the Makefile contains a function to assist you in creating a cluster, assuming you have your az CLI properly configured to access your account. If you wish to override the behavior of the create cluster function, see the Advanced Usage section of this document.
Log in via the Azure CLI from your terminal (this should open a window in your browser):
List your Azure subscription and identify the one you wish to use for this example.
Set the active Azure subription via the Azure CLI.
az account set --subscription {{ azure subscription name }}
List your Azure resource groups and identify the one you wish to use for this example.
To create the standard cluster you can run the following:
export AZ_RESOURCE_GROUP={{ azure resource group name }}
make aks-create-cluster
Verify that az has created the cluster properly:
...

provisioningState: Succeeded
sku:
  name: Basic
  tier: Free
tags: null
type: Microsoft.ContainerService/ManagedClusters

...

az aks get-credentials --only-show-errors --resource-group confluent-operator-demo --name cp-examples-operator-user --context aks_confluent-operator-demo_centralus_cp-examples-operator-user
Merged "aks_confluent-operator-demo_centralus_cp-examples-operator-user" as current context in /Users/user/.kube/config
✔  ++++++++++ AKS Cluster Created
Confluent Cloud Setup
Confluent Cloud Account Setup
This demonstration requires that you have a Confluent Cloud account and a Kafka cluster ready for use. The Confluent Cloud home page can help you get setup with your own account if you do not yet have access.
Note
This demonstration highlights a multi-cloud replication strategy using Confluent Replicator. One benefit of Replicator is that the destination cluster topics and partitions will be identical in message offsets, timestamps, keys, and values. If you re-use a cluster with an existing stock-trades topic, the messages will be appended to the end of the existing topic data and the offsets will not match the source cluster. It’s advised to build a new cluster for each run of this example, or delete the stock-trades Kafka topic in the destination cluster prior to running. See: ccloud kafka topic delete for instructions on deleting Confluent Cloud topics.
Kafka Cluster Setup
If you are creating a new cluster, it is advised to create it within the same Cloud Provider and region as this example. This demonstration runs on top of Azure and, by default, in the centralus region. It is recommended to name your new cluster replicator-aks-cc-demo to match names used later in this example. The following illustrates the recommended configuration:
Kafka Bootstrap Server Configuration
After you have established the Confluent Cloud cluster you are going to use for the example you will need the public bootstrap server.
You can use the ccloud CLI to retrieve the bootstrap server value for your cluster.
Tip
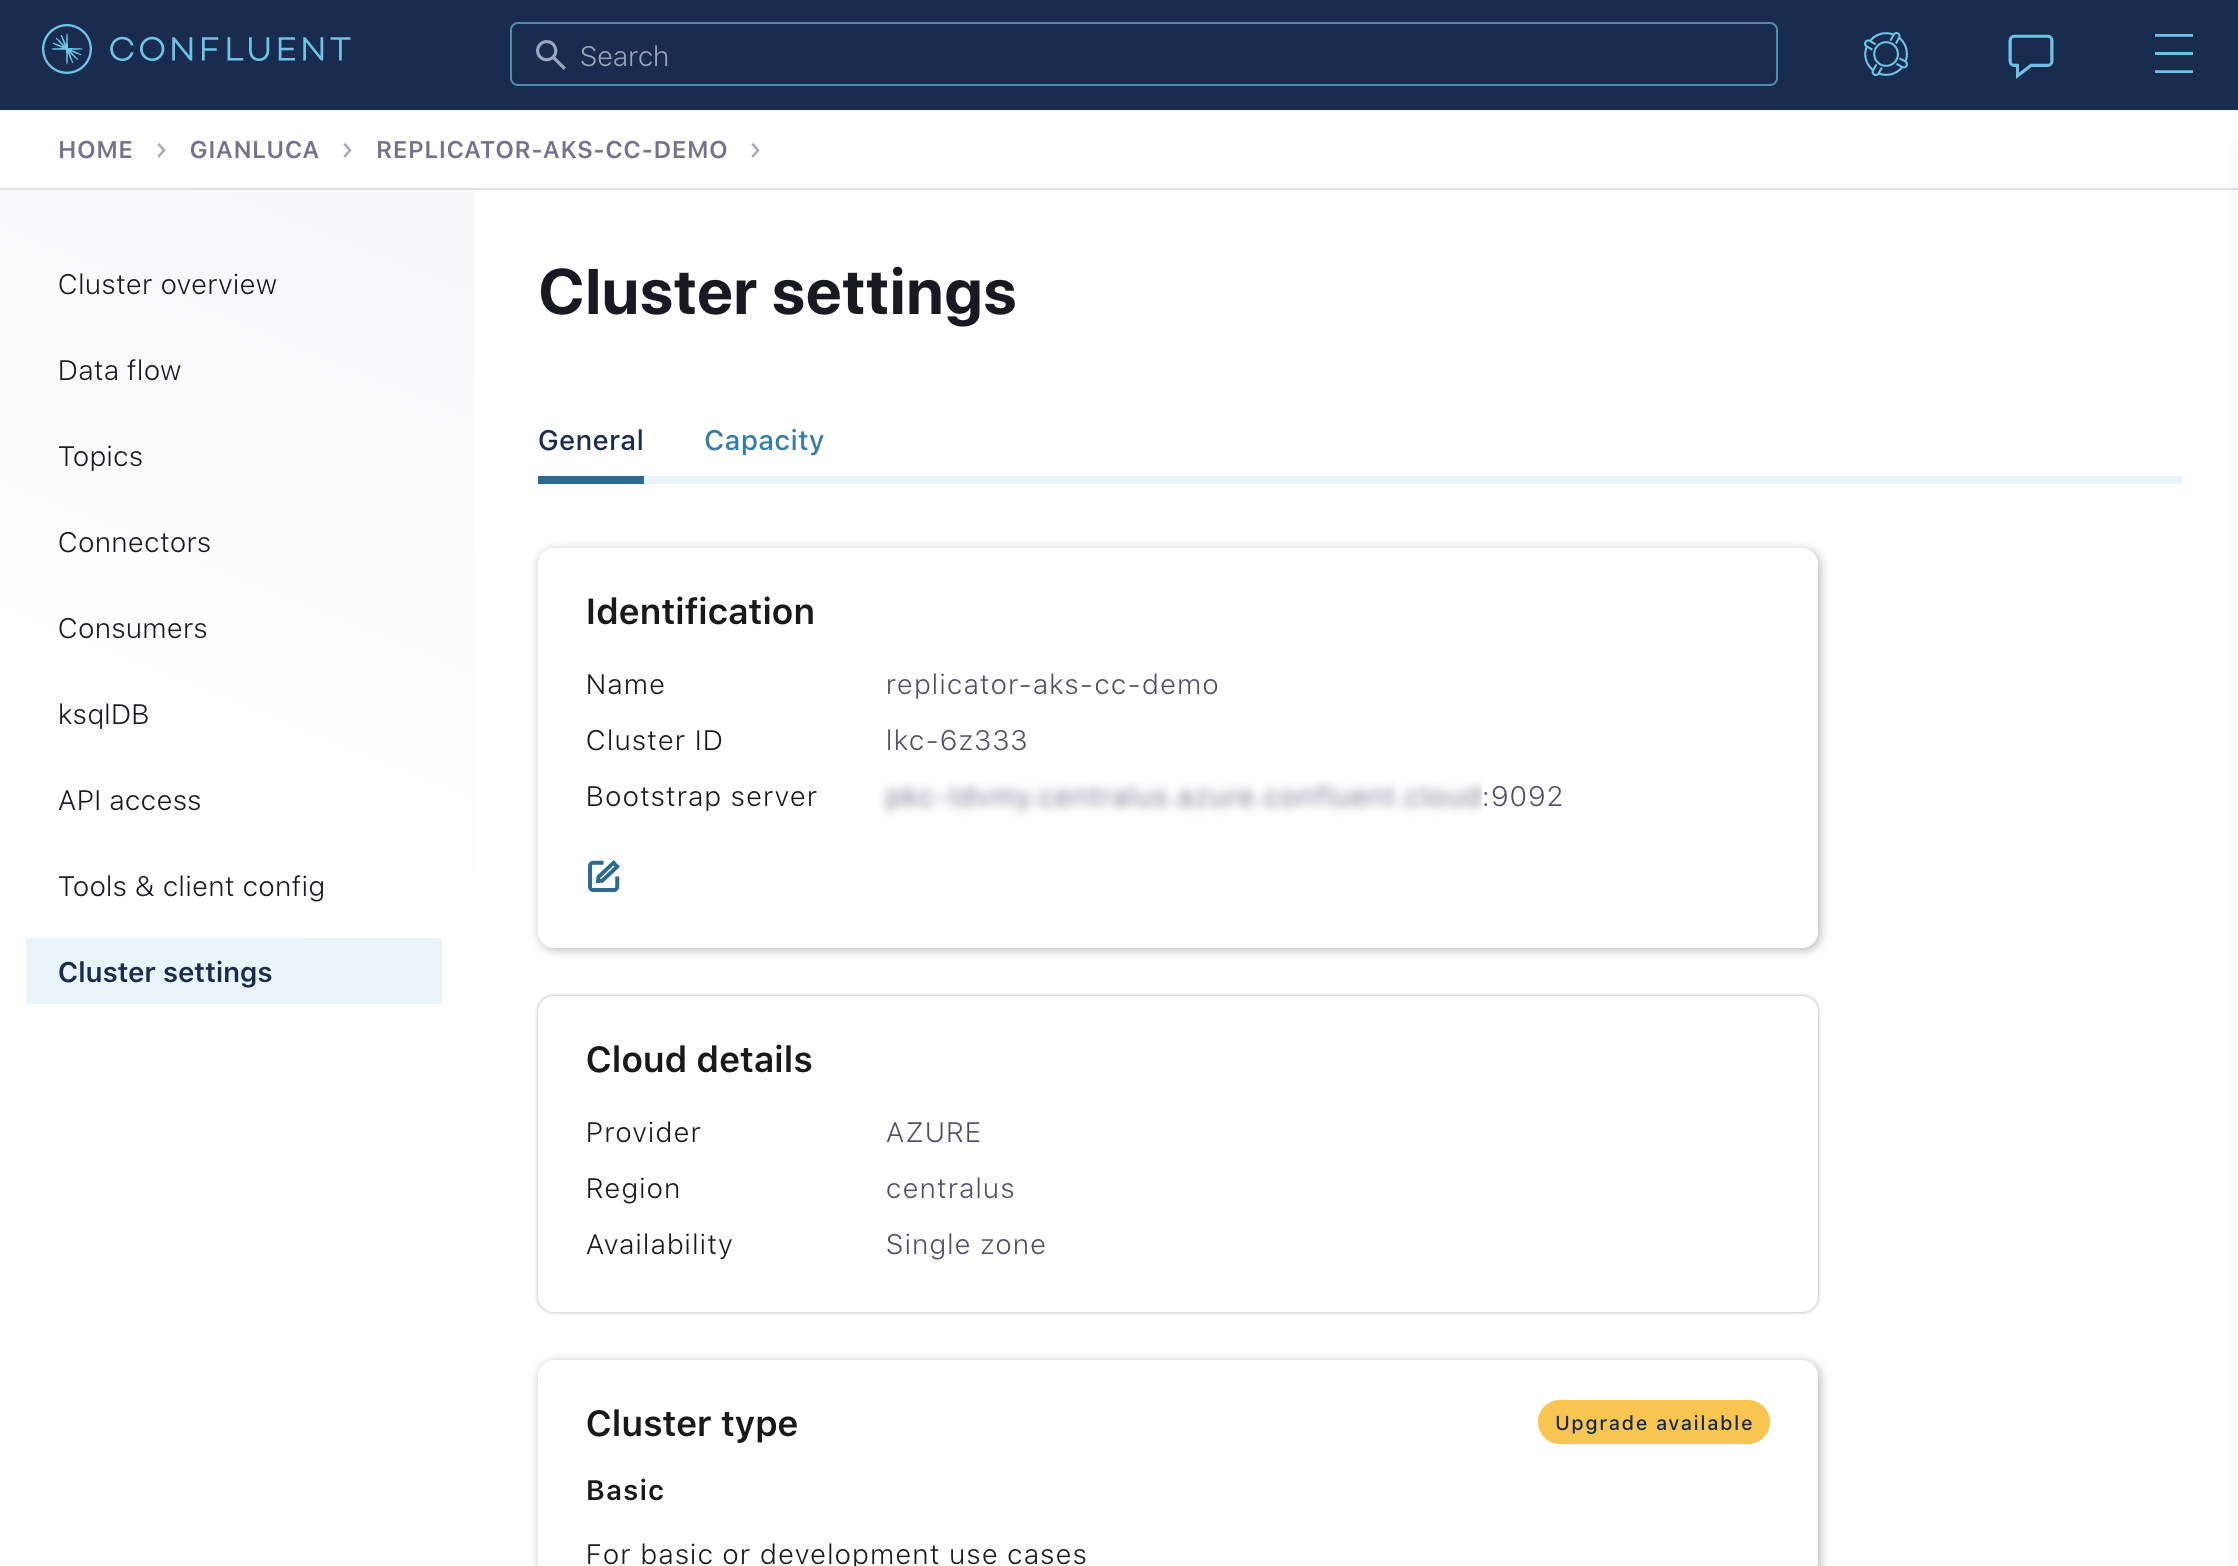
You can also view the bootstrap server value on the Confluent Cloud UI under the Cluster settings
If you haven’t already, install the ccloud CLI
Log in to your Confluent Cloud cluster. The --save argument saves your Confluent Cloud user login credentials or refresh token (in the case of SSO) to the local netrc file.
Your output should resemble:
Enter your Confluent credentials:
Email: jdoe@myemail.io
Password:

Logged in as jdoe@myemail.io
Using environment t118 ("default")
List your available Kafka clusters.
ccloud kafka cluster list
This should produce a list of clusters you have access to:
      Id      |          Name          | Provider |   Region    | Durability | Status
+-------------+------------------------+----------+-------------+------------+--------+
    lkc-xmm5g | abc-test               | azure    | centralus   | LOW        | UP
    lkc-kngnv | rjs-azure-centralus    | azure    | centralus   | LOW        | UP
    lkc-3r3vj | replicator-aks-cc-demo | azure    | centralus   | LOW        | UP
Describe the cluster to obtain the bootstrap server
ccloud kafka cluster describe lkc-3r3vj
This will produce a detailed view of the cluster. The Endpoint field contains the bootstrap server value
+-------------+------------------------------------------------------------+
| Id          | lkc-3r3vj                                                  |
| Name        | replicator-aks-cc-demo                                     |
| Type        | BASIC                                                      |
| Ingress     |                                                        100 |
| Egress      |                                                        100 |
| Storage     |                                                       5000 |
| Provider    | azure                                                      |
| Region      | centralus                                                  |
| Status      | UP                                                         |
| Endpoint    | SASL_SSL://abc-12345.centralus.azure.confluent.cloud:9092  |
| ApiEndpoint | https://abc-12345.centralus.azure.confluent.cloud          |
+-------------+------------------------------------------------------------+
API Key and Secret Configuration
The ccloud CLI allows you to create API Keys to be used with client applications.
To create a new API Key:
ccloud api-key create --resource lkc-3r3vj
The tool will display a new Key and secret as below. You will need to save these values elsewhere as they cannot be retrieved later.
Save the API key and secret. The secret is **not** retrievable later.
+---------+------------------------------------------------------------------+
| API Key | LD35EM2YJTCTRQRM                                                 |
| Secret  | 67JImN+9vk+Hj3eaj2/UcwUlbDNlGGC3KAIOy5JNRVSnweumPBUpW31JWZSBeawz |
+---------+------------------------------------------------------------------+
Preflight Checks
Prior to running the example you may want to verify the setup.
To verify your AKS cluster status:
az aks list --output table
To verify that your kubectl command is configured with the proper context to control your AKS cluster, run:
kubectl config current-context
The context should contain the proper region and cluster name. If you used the demo aks-create-cluster function to create your cluster, the context name should have the format: aks_<azure_resource_group>_<region>_<cp-examples-operator>-<username>
Example Execution
To run the automated demo (estimated running time, 8 minutes):
The demo will deploy Confluent Platform leveraging Confluent Operator. As the various components are deployed, the demonstration will echo the various commands as executing them so you can observe the process. For example, the deployment message for Kafka will look similar to:
+++++++++++++ deploy kafka
helm upgrade --install --namespace operator --wait --timeout=500 -f examples/kubernetes/gke-base/cfg/values.yaml --set global.provider.region=us-central1 --set global.provider.kubernetes.deployment.zones={us-central1-a} -f examples/kubernetes/replicator-gke-cc/cfg/values.yaml -f examples/kubernetes/replicator-gke-cc/cfg/my-values.yaml  --set kafka.replicas=3 --set kafka.enabled=true kafka examples/kubernetes/common/cp/operator/20190912-v0.65.1/helm/confluent-operator
Release "kafka" does not exist. Installing it now.
NAME:   kafka
LAST DEPLOYED: Mon Oct 28 11:42:07 2019
NAMESPACE: operator
STATUS: DEPLOYED
...
✔  ++++++++++ Kafka deployed

+++++++++++++ Wait for Kafka
source examples/kubernetes/common/bin/retry.sh; retry 15 kubectl --context |kubectl-context-pattern| -n operator get sts kafka
NAME    READY   AGE
kafka   0/3     1s
kubectl --context |kubectl-context-pattern| -n operator rollout status statefulset/kafka
Waiting for 3 pods to be ready...
Waiting for 2 pods to be ready...
Waiting for 1 pods to be ready...
statefulset rolling update complete 3 pods at revision kafka-775f97f98b...
✔  ++++++++++ Kafka ready
The last output message you should see is:
✔ Replicator |k8s-service-name|->CC Demo running
Validate
Verify Control Center’s View of Multiple Clusters
In order to view Confluent Control Center, network connectivity will need to be available between your local machine and the Kubernetes pod running the Confluent Control Center service. If you used an existing cluster you may already have external cluster access configured, otherwise, you can use the following kubectl command to open a forwarded port connection between your local host and Confluent Control Center.
kubectl -n operator port-forward controlcenter-0 12345:9021
Now open a web-browser to http://localhost:12345, and you should see Confluent Control Center with 2 Healthy Clusters.
The replicator-aks-cc-demo cluster is the Confluent Cloud cluster and the controlcenter.cluster is the AKS based Confluent Operator managed cluster. At this time, detailed monitoring of Confluent Cloud clusters is not possible from on-premises Confluent Control Center. You will notice that the replicator-aks-cc-demo cluster does not list the number of Brokers as the Confluent Cloud managed Kafka service is serverless and the concept of brokers is abstracted away.
Next click on the controlcenter.cluster and then Consumers, and then replicator. This will give you a view of the Confluent Replicator consumer group as it replicates the stock-trades topics to Confluent Cloud.
This Control Center screen highlights the consumer group lag for the replicator consumer group. In the above screenshot, Control Center is telling us that the replicator consumer’s total lag across all topics and partitions is 27 messages. As Replicator processes messages, it’s consumer group lag will fluctuate and the chart on this screen will indicate the current value as well as maximum amount of lag over time.
Verify replicated stock-trades topic with clients
To view the stock-trades topic data streaming on both clusters, you can open two terminals and run the following series of commands.
To view the stock-trades events on the source (AKS) cluster, in the first terminal, first open a shell on the client-console pod:
kubectl -n operator exec -it client-console bash
Then use the kafka-console-consumer to stream the values from the stock-trades topic. The required configuraiton is provided in the /etc/kafka-client-properties/kafka-client.properties file already mounted in a volume on the pod:
kafka-console-consumer --bootstrap-server kafka:9071 --consumer.config /etc/kafka-client-properties/kafka-client.properties --topic stock-trades --property print.value=false --property print.key=true --property print.timestamp=true
To view the stock-trades events on the destination (Confluent Cloud) cluster, in a second terminal open another shell on the client-console pod:
kubectl -n operator exec -it client-console bash
Again, use the kafka-console-consumer to stream the values from the stock-trades topic, this time from the destination cluster. The required configuration has been mounted in a volume on the pod in the /etc/destination-cluster-client-properties/destination-cluster-client.properties file. Additionally, the bootstrap server value has been added in the /etc/destination-cluster-client-properties/destination-cluster-bootstrap file. This command will use both of those files to create the connection to the destination cluster:
kafka-console-consumer --bootstrap-server $(cat /etc/destination-cluster-client-properties/destination-cluster-bootstrap) --consumer.config /etc/destination-cluster-client-properties/destination-cluster-client.properties --topic stock-trades --property print.value=false --property print.key=true --property print.timestamp=true
These commands will print out the timestamp and key of messages as they arrive in each cluster. You an visually match up the events by these values and observe the replication process, for example, in terminal 1 you might see:
...
CreateTime:1572380698171        ZJZZT
CreateTime:1572380698280        ZWZZT
CreateTime:1572380698351        ZWZZT
CreateTime:1572380698577        ZJZZT
CreateTime:1572380699340        ZVZZT
And in terminal 2 shortly after identical messages:
...
CreateTime:1572380698171        ZJZZT
CreateTime:1572380698280        ZWZZT
CreateTime:1572380698351        ZWZZT