Quick Start for Apache Kafka using Confluent Cloud
This quick start gets you up and running with Confluent Cloud using a basic cluster.
It shows how to use Confluent Cloud to create topics, produce and consume to an Apache Kafka® cluster. The quick
start introduces both the web UI and the Confluent Cloud CLI to manage clusters and
topics in Confluent Cloud, as these can be used interchangeably for most tasks.
Follow these steps to set up a Kafka cluster on Confluent Cloud and produce data to Kafka
topics on the cluster.
Confluent Cloud is a resilient, scalable streaming data service based on Apache Kafka®, delivered
as a fully managed service. Confluent Cloud has a web interface and local command line interface. You can manage cluster
resources, settings, and billing with the web interface. You can use Confluent Cloud CLI to create and manage Kafka topics.
Sign up for Confluent Cloud to get started.
For more information about Confluent Cloud, see the Confluent Cloud documentation.
- Prerequisites
-
Step 1: Create a Kafka cluster in Confluent Cloud
Sign in to Confluent Cloud at https://confluent.cloud.
Click Add cluster, and on the Create cluster page, click Basic.
Important
This example creates a Basic cluster which only supports single zone
availability. For information about other cluster types, including
standard and dedicated types, see Confluent Cloud Cluster Types.
Click Begin configuration”. The **Region/zones page opens. Choose a
cloud provider, region, and availability zone. Click Continue.
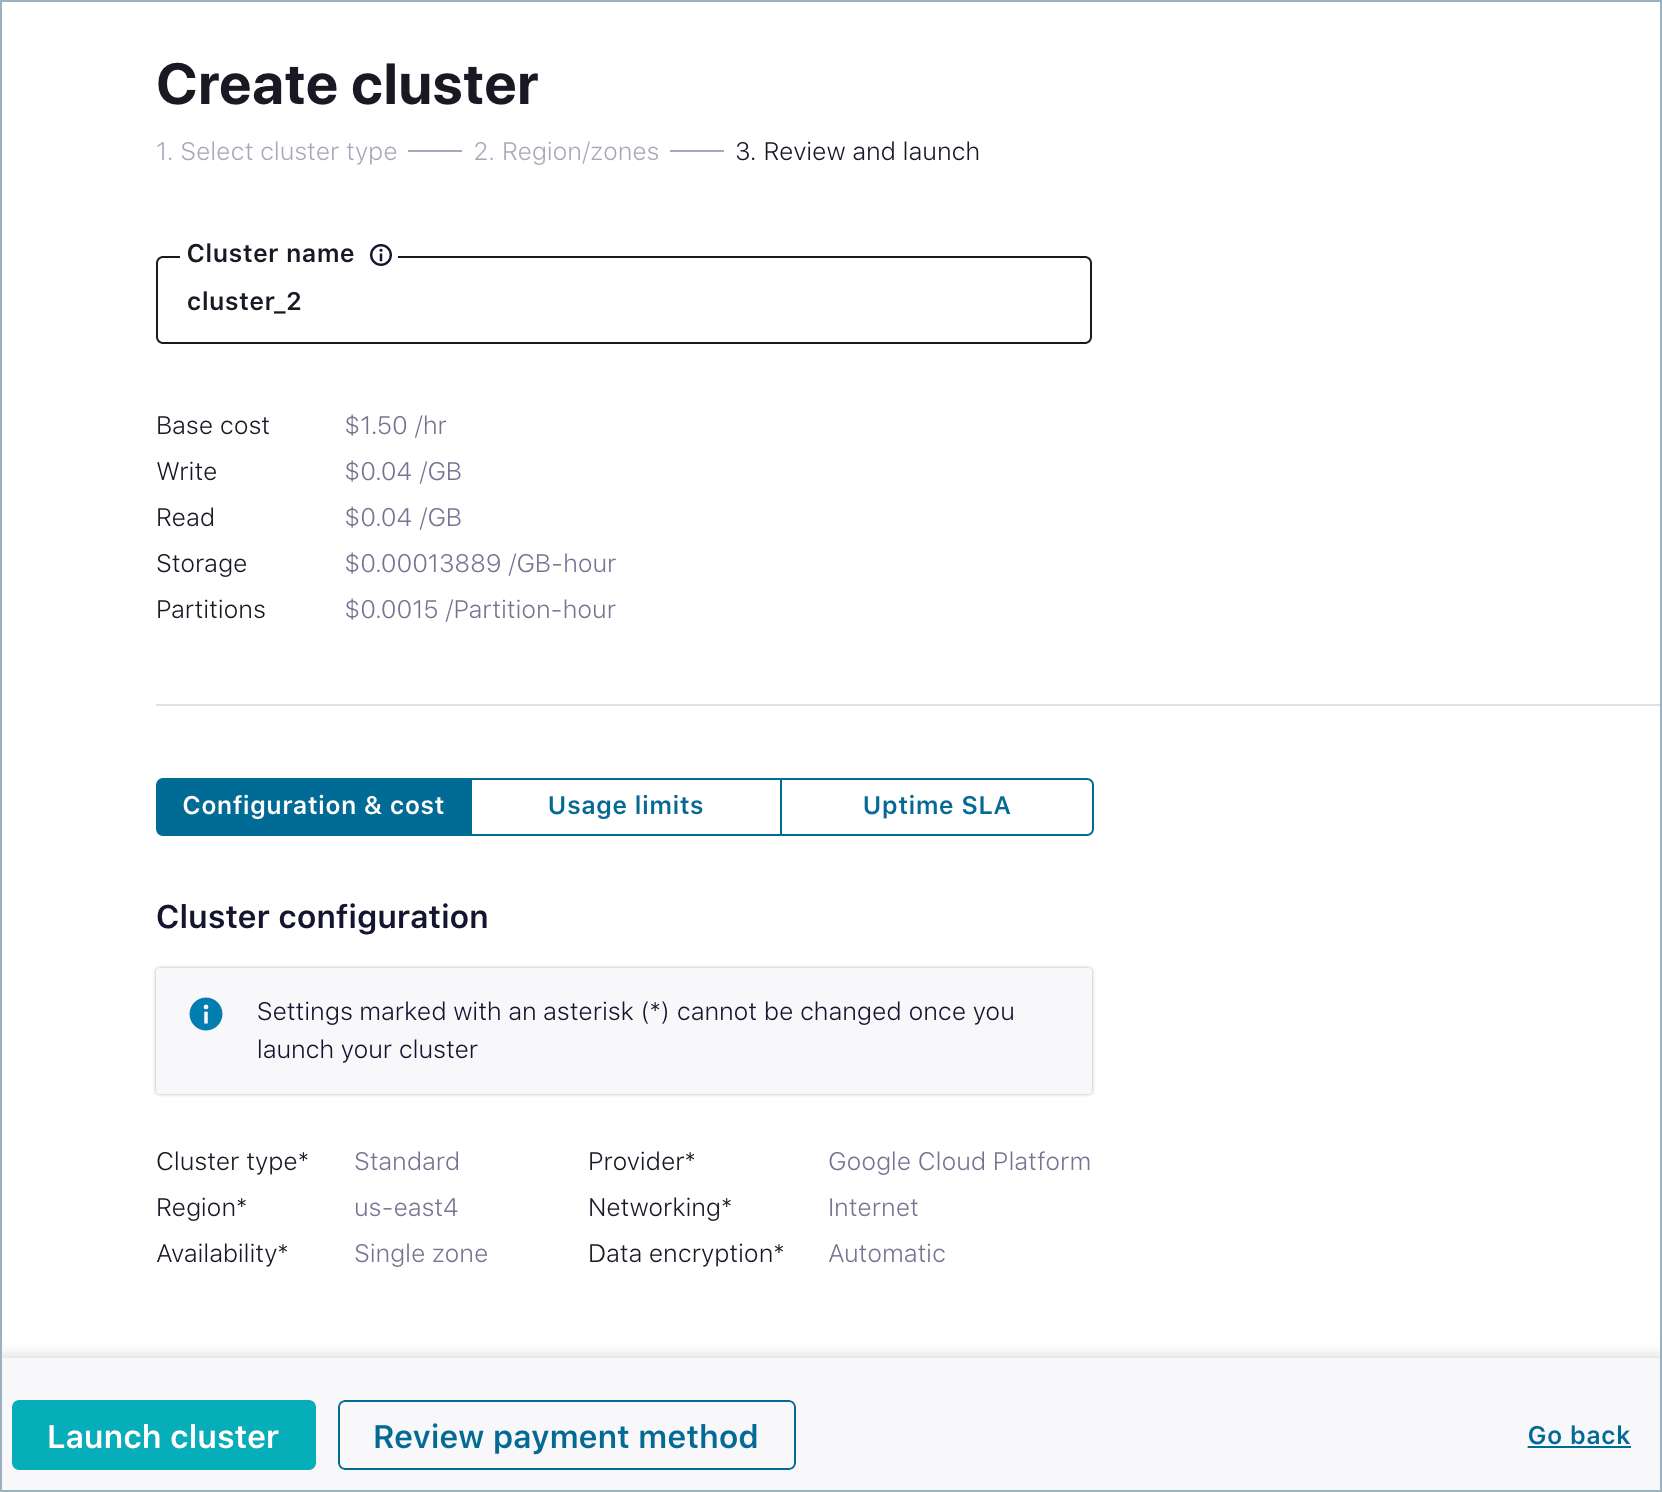
Specify a cluster name, review your settings, cost, usage, and click
Launch cluster.
Get started configuring apps and data on your new cluster.
Note
Depending on the chosen cloud provider and other settings, it may take a few
minutes to provision your cluster.
Step 2: Create a Kafka topic
In this step, you create the users topic by using the Confluent Cloud UI.
Tip
You can also create topics by using the Confluent Cloud
CLI.
In the navigation bar, click Topics, and in the Topics page,
click Create topic.
In the Topic name field, type “users”. Click Create with defaults.
The users topic is created on the Kafka cluster and is available for use
by producers and consumers.
Step 3: Create a sample producer
You can produce example data to your Kafka cluster by using the
hosted Datagen Source Connector for Confluent Cloud.
In the navigation bar, click Connectors.
Click Add connector to open the Connectors menu.
Find the Datagen Source tile and click Connect. The
Add Datagen Source Connector form opens.
The connector requires an API key and secret to access your cluster. In the
Kafka Cluster Credentials section, click Generate Kafka API key & secret.
Copy the key and secret to a local file and check
I have saved my API key and secret and am ready to continue.
The key and secret are also required for the Confluent Cloud CLI and ksqlDB CLI
to access your cluster.
Note
An API key and associated secret apply to the active Kafka cluster. If
you add a new cluster, you must create a new API key for producers and
consumers on the new Kafka cluster. For more information, see
API Keys.
Fill in the following fields to configure your connector.
| Field |
Value |
|---|
| Name |
enter “DatagenSourceConnector_users” |
| Which topic do you want to send data to? |
select users |
| Output Messages |
select JSON |
| Quickstart |
select USERS |
| Max interval between messages |
enter “1000” for one second interval |
| Number of tasks for this connector |
enter “1” |
When the form is filled in, it should resemble the following image.
At the bottom of the form, click Continue to review the details for
your connector, and click Launch to start it. On the Connectors page,
the status of your new connector reads Provisioning, which lasts for
a few seconds. When the status changes to Running, your connector is
producing data to the users topic.
Step 4: Consume messages
Click Topics and click the users topic name.
Click the Messages tab in the topics page in the Confluent Cloud UI to view
the messages being produced. The message viewer shows messages produced
since the page was loaded, but it doesn’t show a historical view.
Step 5: Inspect data flow
Track the movement of data through your cluster by using the Data Flow page,
where you can see sources, sinks, and topics and monitor messages as they move
for one to another.
In the navigation bar, click Data flow. The topology of topics on your
is displayed.
Click the node labeled ..ctor-producer-lcc-, which is the Datagen
connector that you created in Step 3. Click Inspect to open the
details view, which shows graphs for total production and other data.
Tip
The lcc substring is an acronym for “logical Connect cluster”.
Click the node labeled users and click Inspect. The
details view opens, showing graphs for total throughput and other data.
Click Show partitions to view details about consumption on each
partition for the users topic.